
Painting a full scene always feels overwhelming at first. When I lay out a big blank piece of paper or set up a canvas, I often imagine something is look back at me. Particularly when I was a beginner, I made the mistake of buying A3 paper stack to save and it was a bad choice. Some of my watercolor papers become buckled due to humidity and I had to get another stack.
It turned out that I overate myself and the simple solution is painting on a smaller size.
The case for a small painting
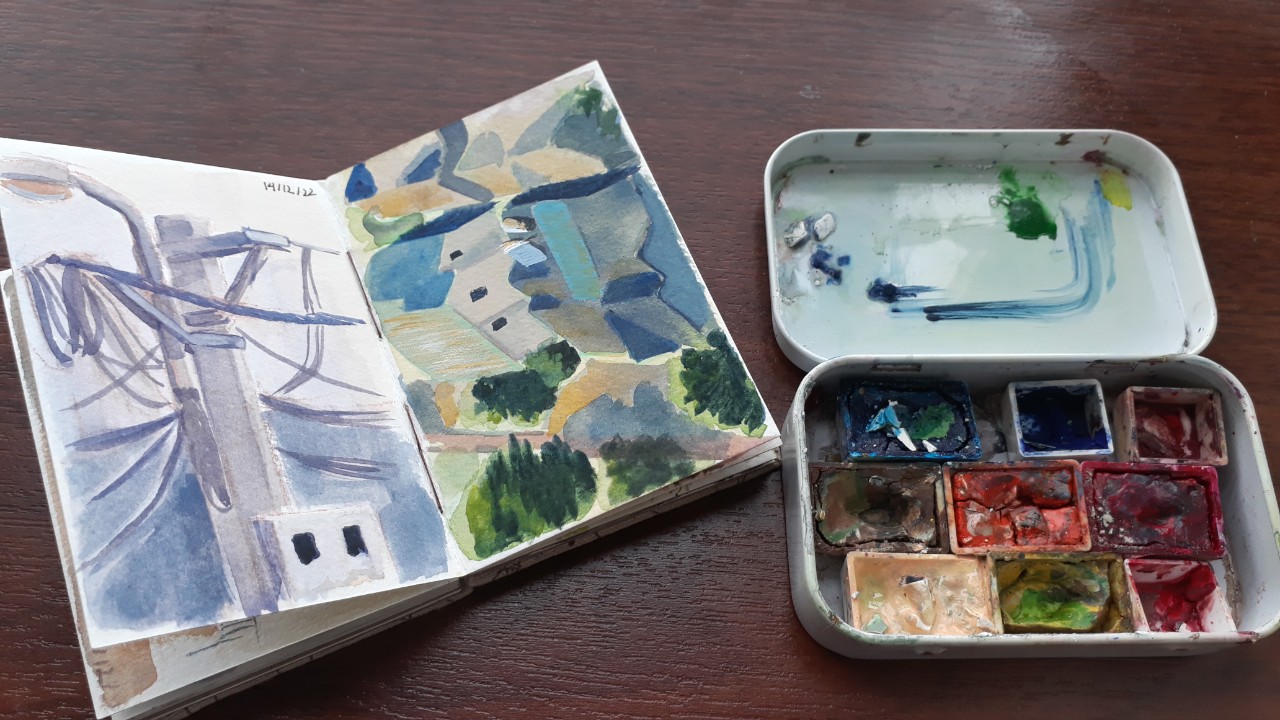
Starting with multiple thumbnail sketches actually saves much more time rather than going directly onto a big canvas. It helps capturing the idea at the rawest stage, then allowing me to explore different compositions, details and ideas. It works the same way as the outline for a book: you need to have a rough image of the end before starting with each chapter.
It also reduces the guilt of commitment: an idea may sound brilliant when it first comes into our head, but maybe not so when it is laid out on paper. It’s easier to give up a small sketch than a big painting. It doesn’t have to ‘good’, ‘excellent’ or ‘the masterpiece’; it can be anything attracting your attention.
Small size sketchbooks work better when you try to paint outside as well. Pairing with watercolor, it becomes my essential kit whenever I go outside.
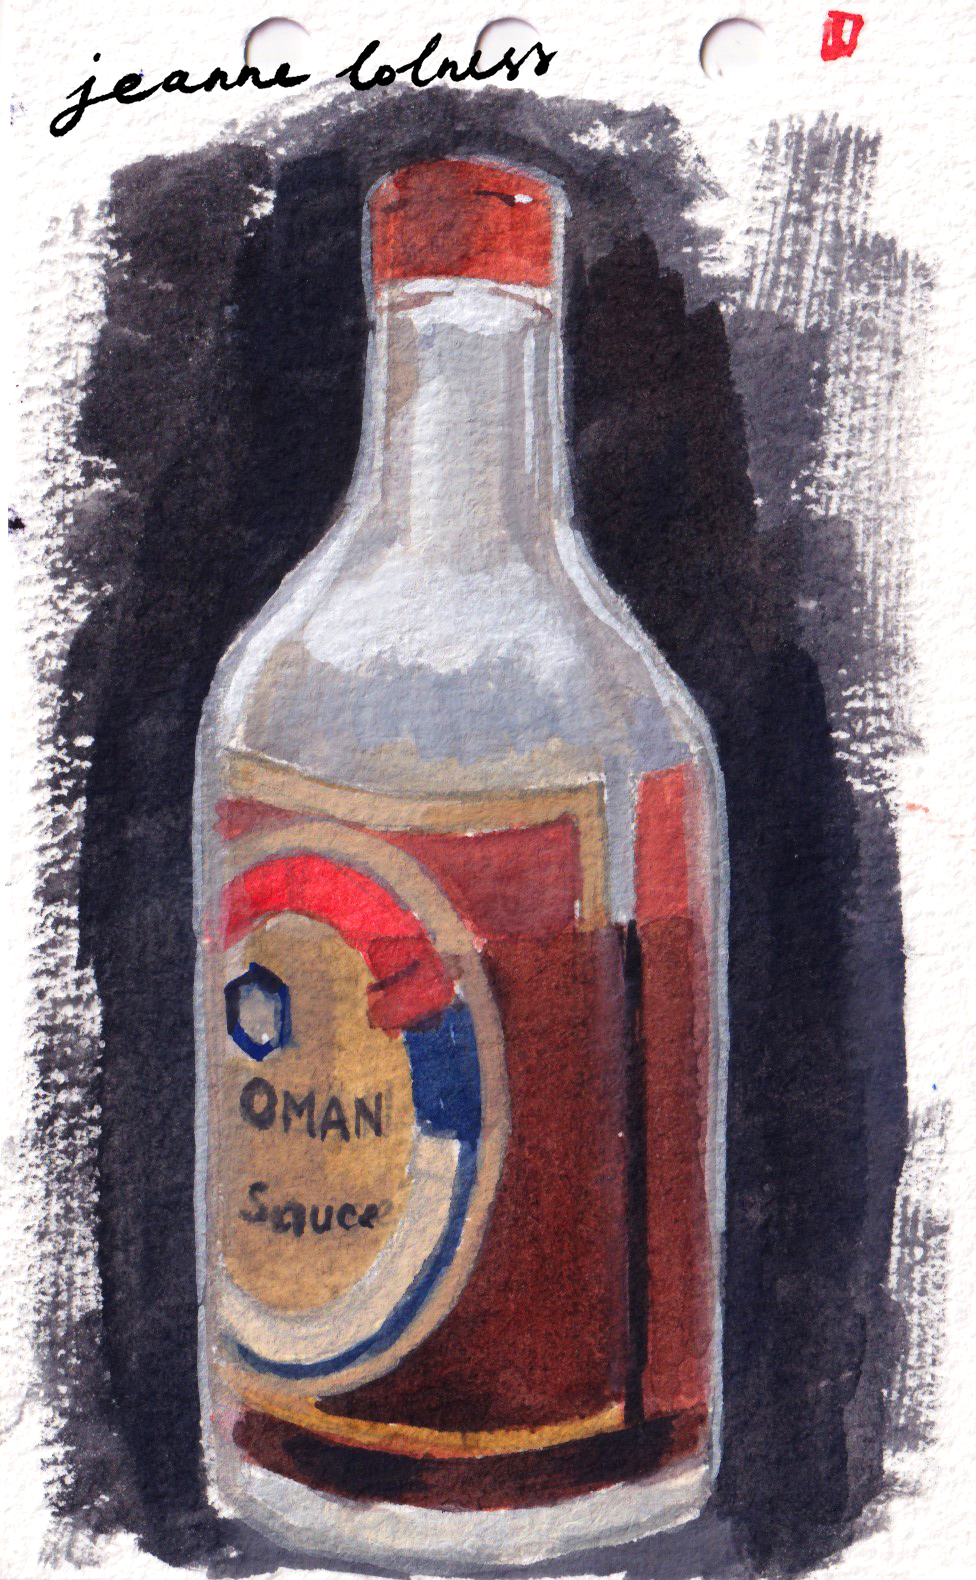
The size of the above sketch of my sauce bottle is 13 x 8cm. You can see a bit of the process here.
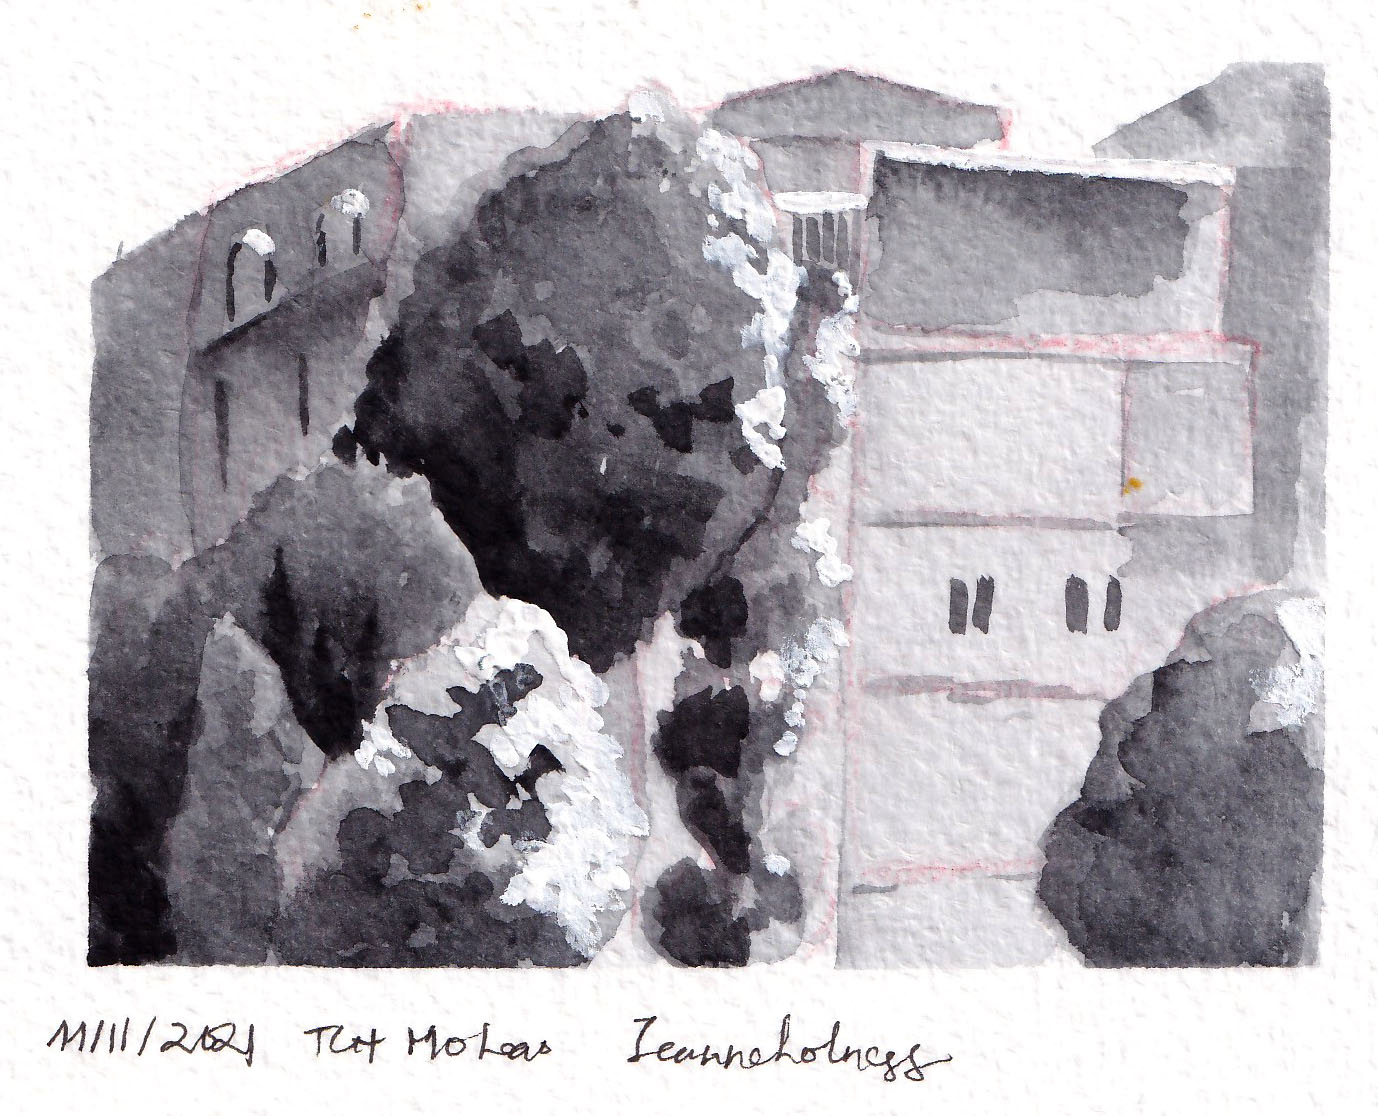
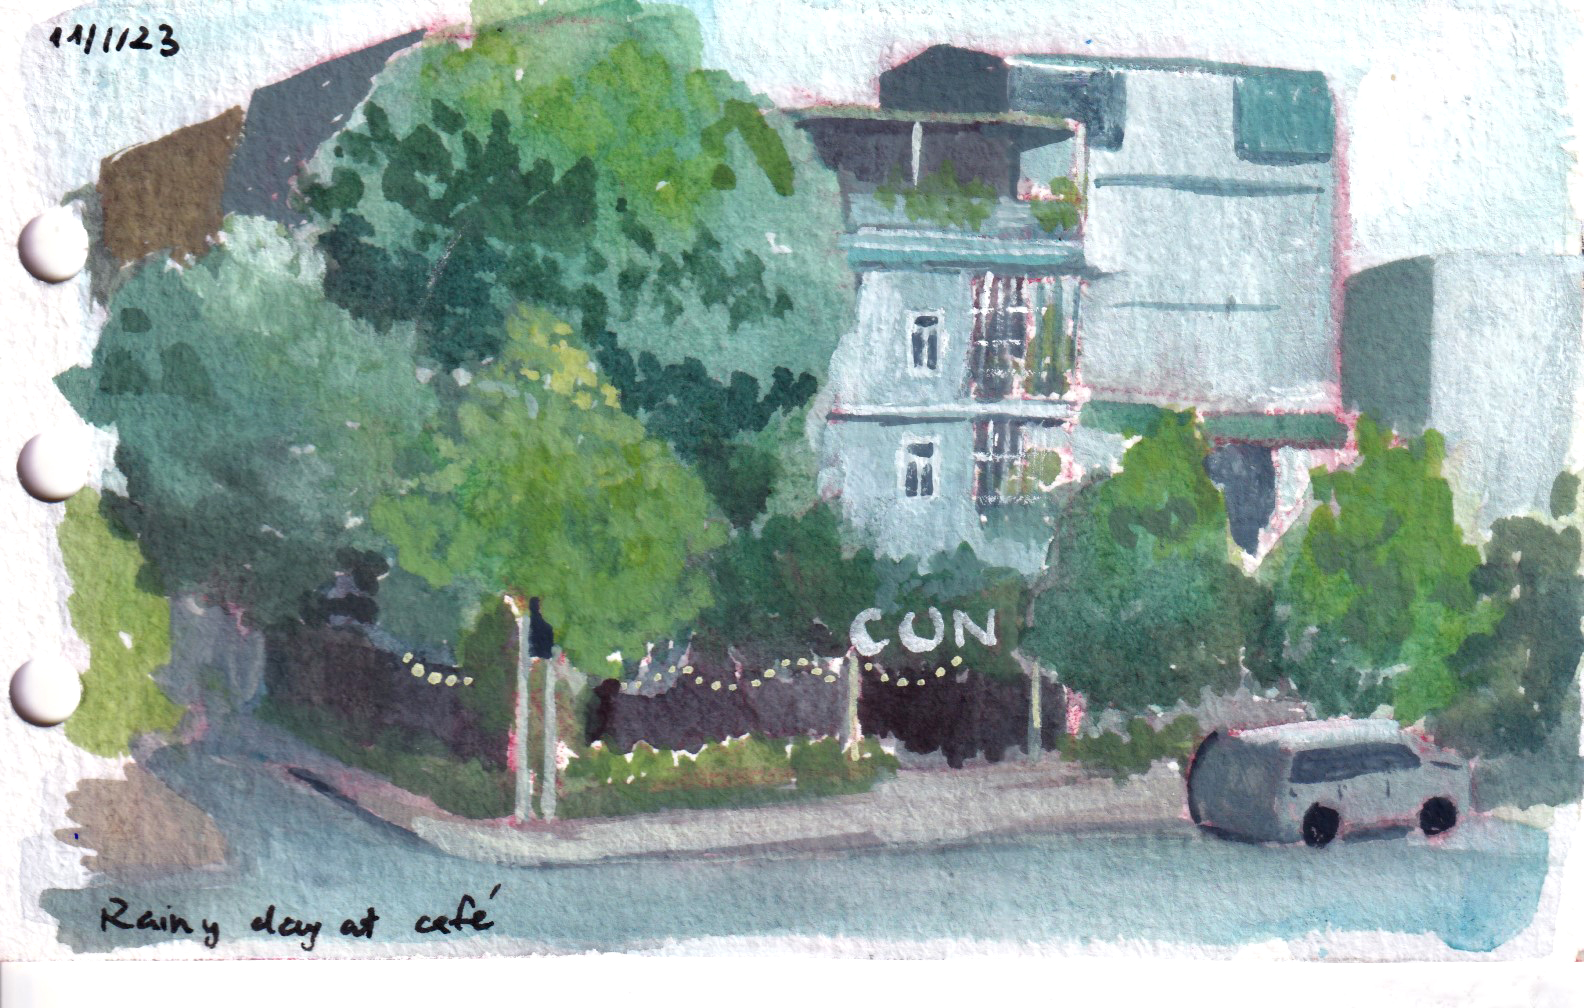
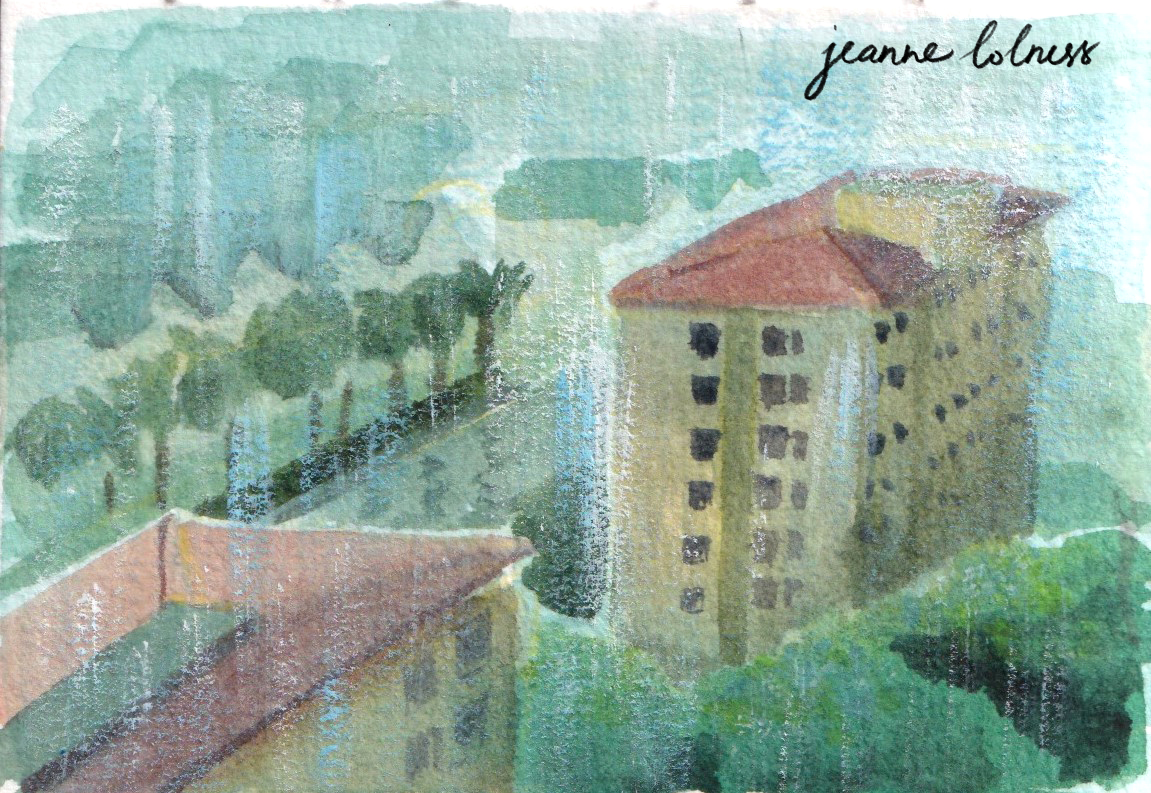
You don’t even need to use color for a thumbnail sketch: you can start with painting value scale first and then color later. When I started painting outdoors, I mostly painted in grayscale with black and white only. The above two are of the same view, with a 2-year gap in between.
Tips to work with small sketches
1. Experiment with the size
You can still buy a big paper stack, just cut them into different sizes to see how it feels to you. A6 size is my favorite size, it looks like a postcard and it fits with my A6 planner. I can just shove them in between the pages and I’m ready to go anytime anywhere.
2. Experiment with the tools
I found ink, dark pencils (6B – 8B) and watercolor more suitable for sketching small. But many artists prefer soft pencils, gouache and digital painting better.
3. Focus on the mass and perspective first
I layout a simple perspective and opt to the biggest mass in the composition. If you struggle with background and landscape illustration, learning to be comfortable with perspective first and trying to see the world in grid is my advice.
4. Break down process and have fun
It’s challenging to complete a full illustration, particularly a landscape one. That’s why I often divide it in parts. Of course, when the surge of excitement comes, just go with it ; but it’s unrealistic to be ecstatic everyday. I often have a few projects running over the same time to switch when I’m bored.
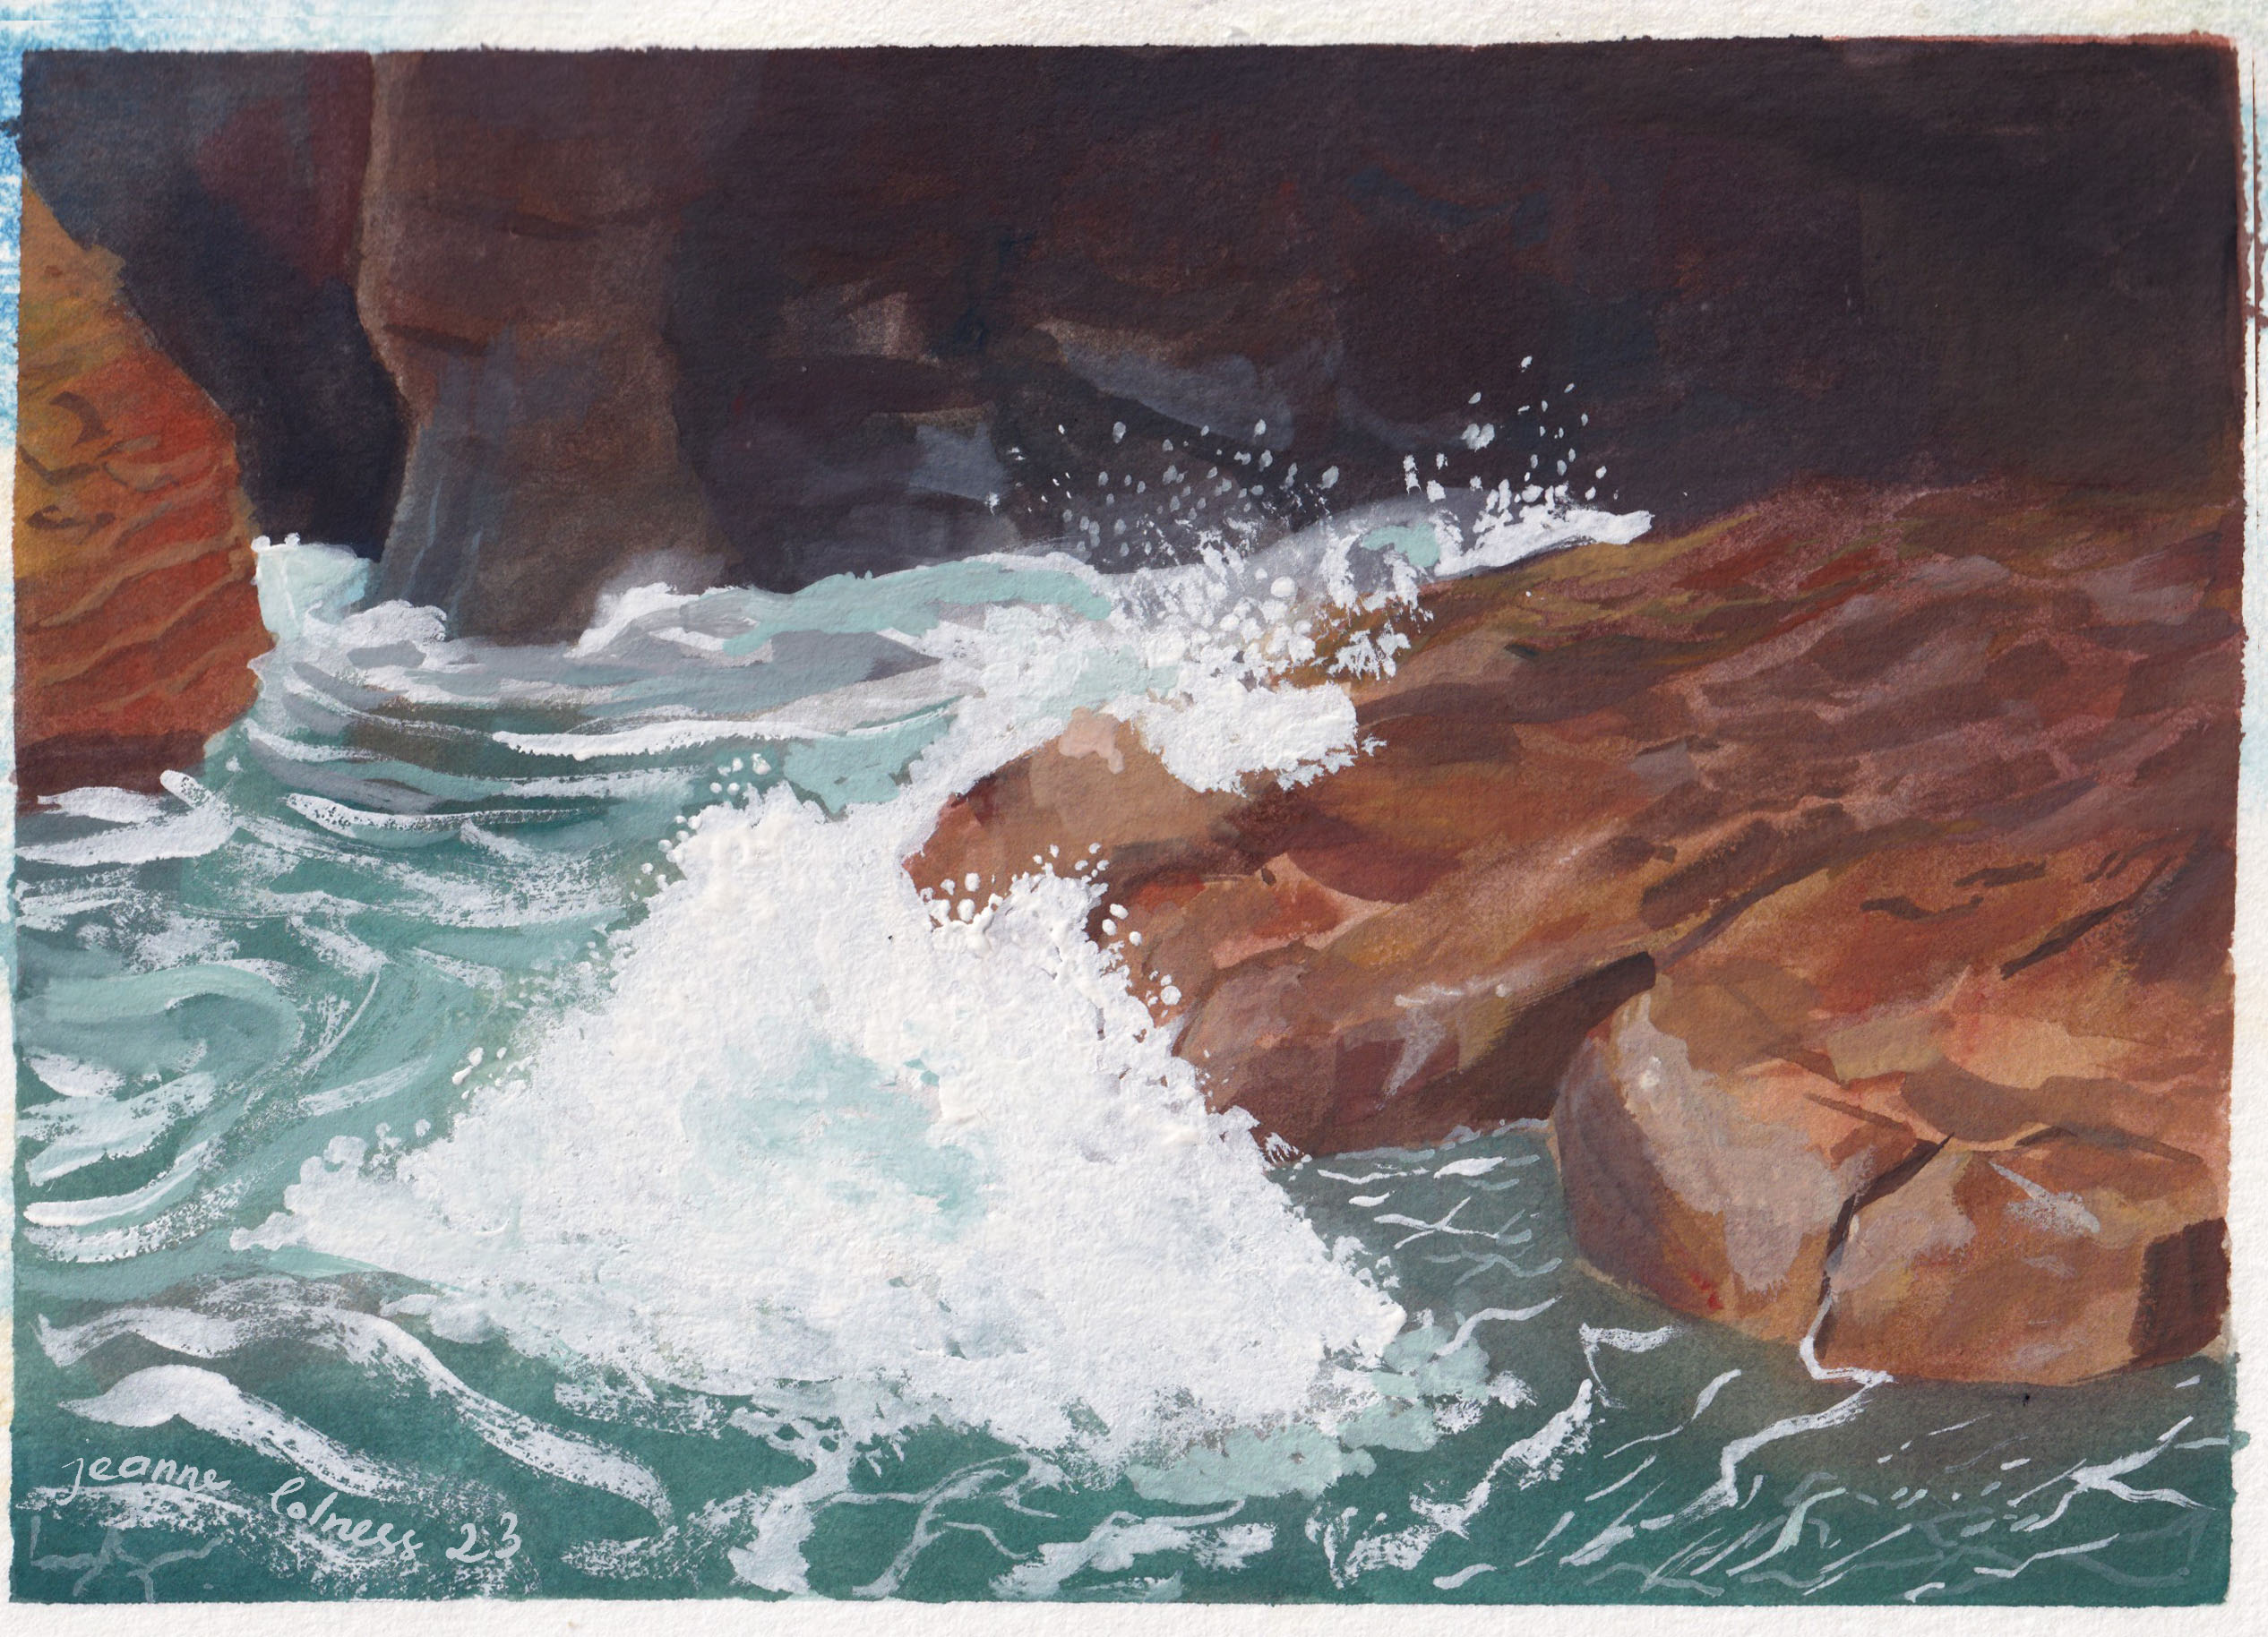

Above are some the largest painting I have ever done, roughly A4 size. It’s tough to paint big, but the joy of completing one big illustration is too great to miss!
Discover more from Jeanne Lolness
Subscribe to get the latest posts sent to your email.

